Summer is just around the corner and we have some helpful tips to get your grill ready for the season. Here are a few pointers to have your grill in tip top shape before for the heat of the summer hits.
Get your tools ready:
- Sturdy bristle grill brush
- Spray grill cleaner
- Broil King Gas Grill Burner Maintenance Set
- Soap and water
Before you start, burn off your grill completely, each main burner to HIGH and let the organic matter in the grill burn. If there’s smoke there’s still fuel to be consumed, let the grill char everything inside before proceeding.
Step 1
Once your grill has cooled brush the inside of the lid and cooking grids knocking all debris into the grill. Brush both sides of the grids then remove them; do the same for the heat tents. Break up all of the debris that remains inside the grill, the burner maintenance set can be a big help at this point since the detailing brush is small enough to get into most tight spaces.

Step 2
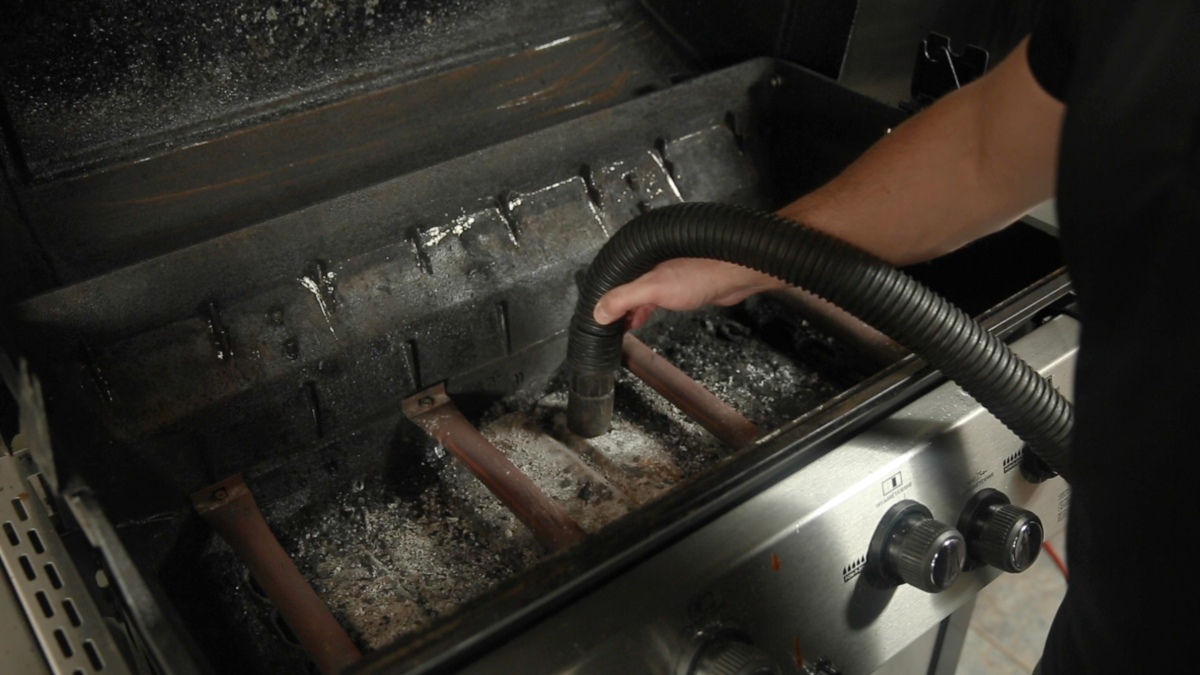
Once the debris is free and in a heap in the bottom of the grill, remove it with a utility vacuum.
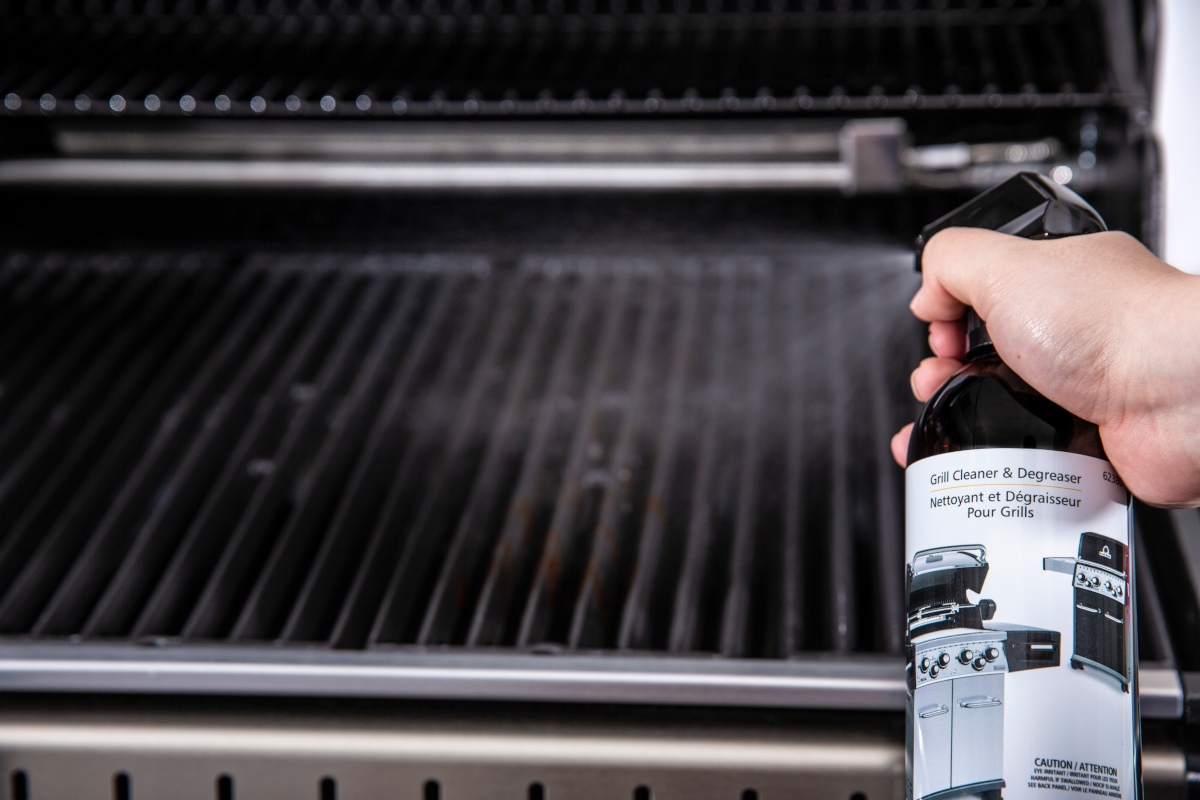
Using a grill degreaser, spray down, allow to soak, then scrub the inside and outside of the cook box. Rinse with water when done. Do the same with the cooking grids and heat tents. Never use oven cleaner on your barbecue, it is corrosive and can damage some components or your skin. Broil King Grill Cleaner

Step 3
Inspect the burners, make sure flame ports are not clogged or rusted out turning several small flames into one large flame, look for pitting and rust through. If your burners are collapsing from corrosion then it’s time to replace them. Using the burner maintenance brush clean out any clogged burner ports, a toothpick works too. Check all igniter contacts to ensure they are not corroded or loose and remove any debris from the electrode. When sparking properly you should see a blue arc from the probe to the steel contact point. If necessary, clean out the venturi tubes using a venturi brush. How will you know you need this step? If you have a burner that light when the others do it could be clogged at the valve or more likely in the venturi tube. Remove the burner and inspect the tube for a blockage. It’s very important to keep these tubes clean, spiders love to make nest in your burner tubes, creating blockages that can pose a safety risk as gas backs up behind the clog.
Step 4
Examine the heat heat tents before reinstalling them, inspect for pitting, rust through or any weak points. Check the cooking grids for similar damage, porcelain coated grids should be smooth without expanded rust spots, cast iron grids should be bare without flaking, stainless grids may never shine again without a serious scrub but they should be smooth and clean.
Step 5
Inspect the gas hose to make sure there aren’t any cracks or leaks when it flexes. This can easily be done by preparing a soapy solution and applying it to the connections at the tank and valve as well as from end to end on the hose. Turn the tank on slowly and watch for bubbles to form, which indicates that there is a leak. Try tightening the connections and retest to make sure it’s not a poor connection. If persistent leaking or blistering is detected, the hose assembly should be replaced. Visit your local Broil King dealer for help parts help.
Step 6
Finally, check the condition of your control knobs, thermometer, and handles. Replacing small items like this can refresh your grill and make it look like new again.
Step 7
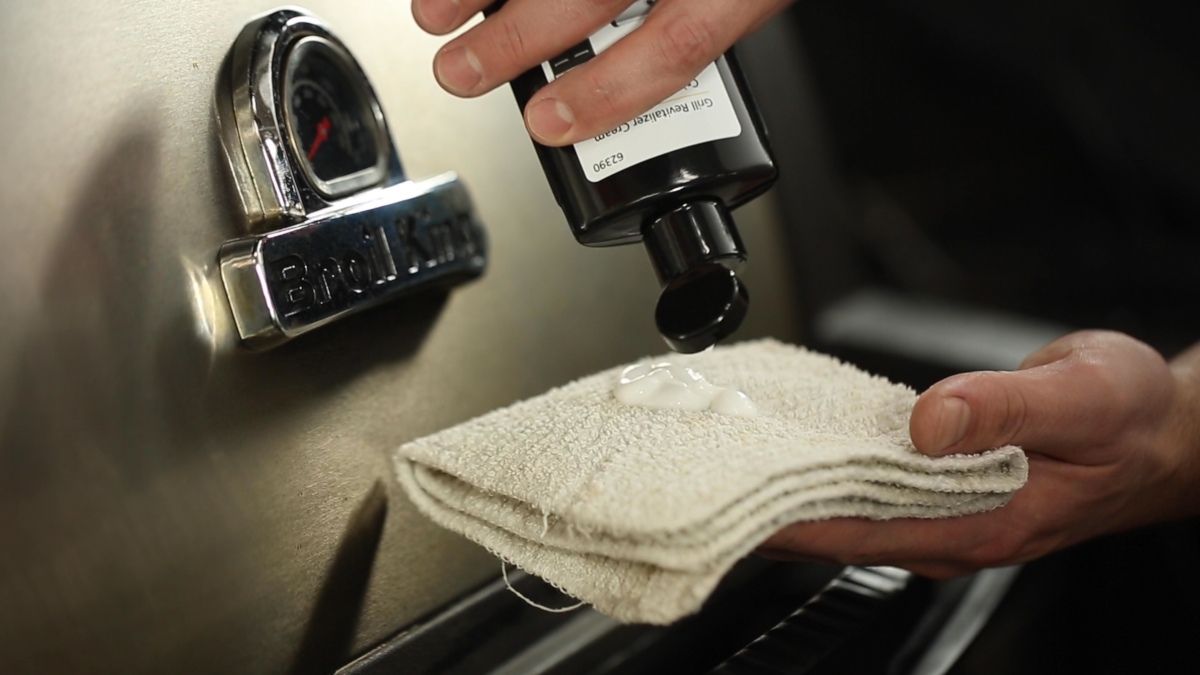
Using soapy water wash the exterior of your grill completely and rinse. Once dry use Broil King Stainless Steel Grill Cleaner & Polish to restore the luster of all of your exterior stainless steel components.

Check out our cleaning videos.

